
To install a soaker hose, lay it along the base of your plants, connect it to an outdoor tap through a pressure regulator, flush the line, cap the far end, then open the tap only part way so the hose weeps at the root zone. This guide walks a retailer or grower through each step, and flags the install mistakes that quietly drive product returns.
What you need before you start
A soaker hose install needs very little hardware, and most of it ships in the box or already sits in a garden shed.
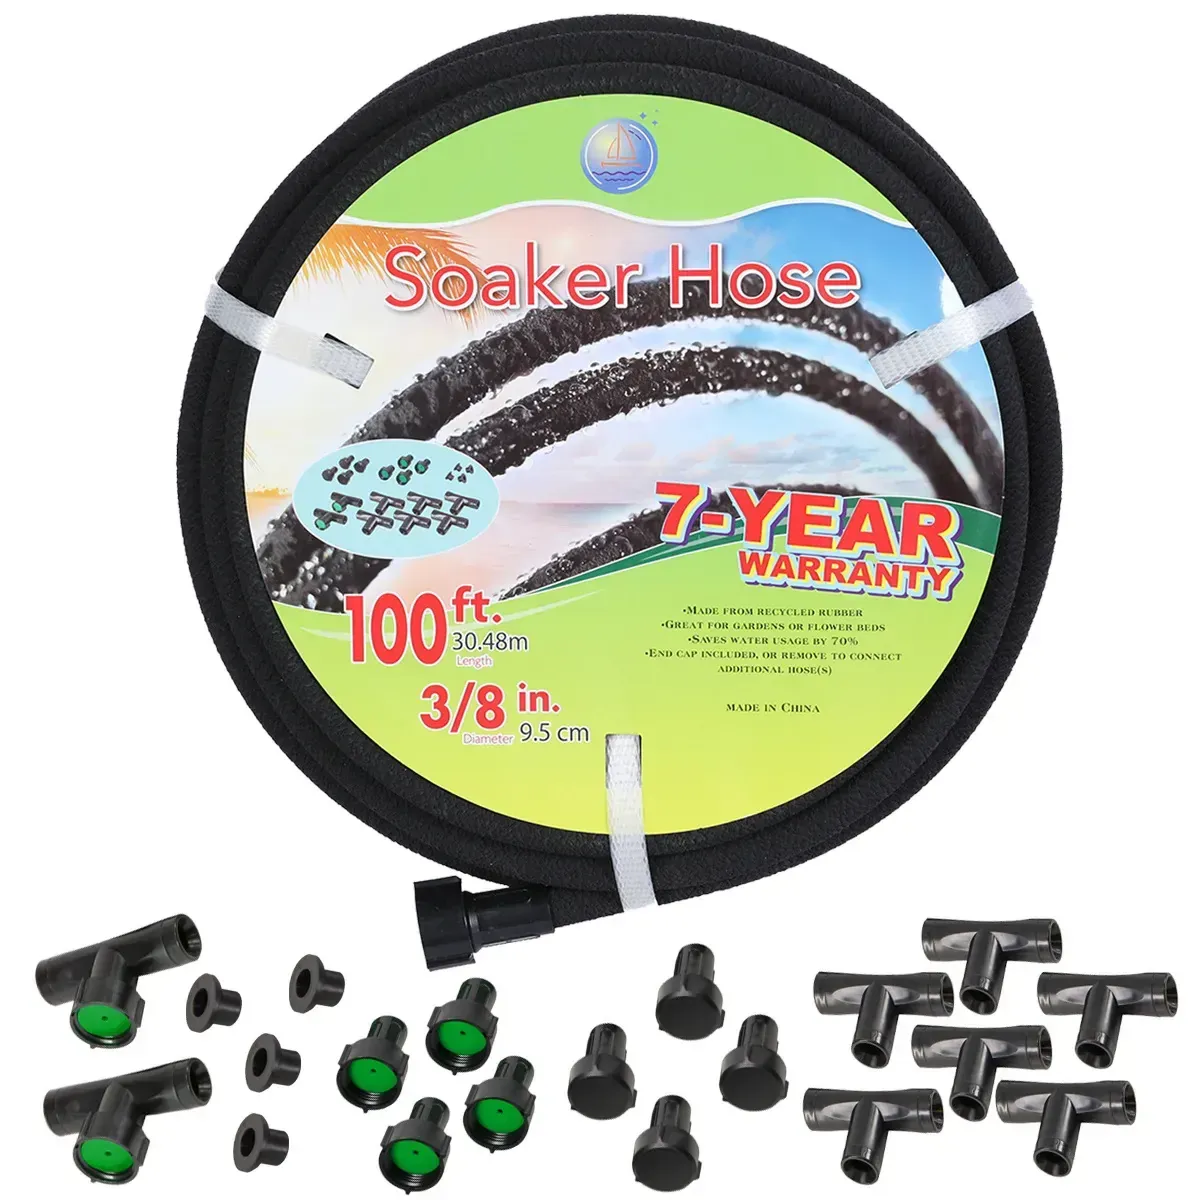
- The soaker hose, cut to the length of the bed. The 1/2 in round soaker hose is the usual pick for beds and rows.
- A pressure regulator, or a burst-proof kit that bundles one with a filter.
- An end cap or end-cap filter for the far end of the run.
- An outdoor tap. The pitta hose threads onto a standard 3/4 in garden tap.
- Garden scissors to trim the run to length.
Step 1: Lay the hose along the root line
Run the hose along the base of the plants, following the row or looping it through the bed so it sits within a hand of the stems.
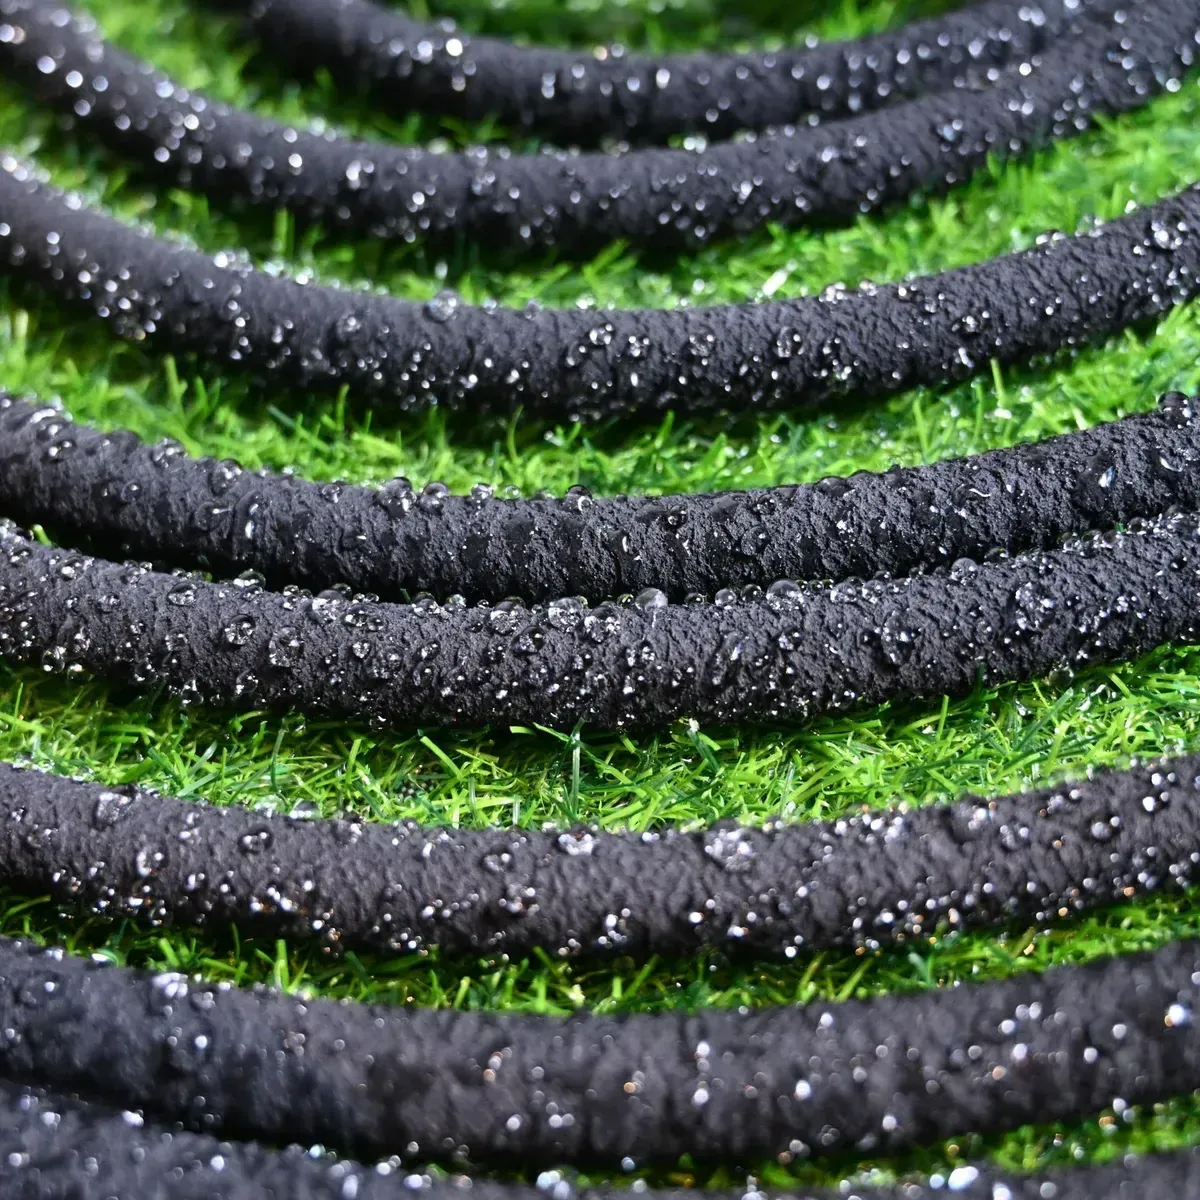
Keep it on the soil surface with the seep wall facing down, and curve it gently around corners rather than kinking it. According to the US EPA WaterSense program, watering at the root zone instead of over the canopy cuts the runoff and evaporation that overhead sprinklers lose to sun and wind (epa.gov/watersense). Only a hose built for burial, such as a PE seepage hose, should go under the soil or mulch.
Step 2: Connect the tap and add a pressure regulator
Screw the inlet end onto the tap, and fit a pressure regulator between the tap and the hose on any normal household line.
Mains pressure is higher than a porous hose wants, and a regulator holds it in a safe range so the wall weeps instead of splitting. pitta lists the working and burst pressure for the 1/2 in hose as confirmed per order rather than a marketing figure, so ask your supplier to put those numbers in writing before you scale a listing. A burst-proof kit that pairs the hose with a regulator and filter takes this decision off the customer.
Step 3: Flush the line, then cap the end
Before you fit the end cap, open the tap for a moment so the flow pushes out any grit left from cutting or storage.
Then close the far end with the cap or an end-cap filter. A capped line builds the gentle back-pressure that makes the hose weep evenly all the way to the last stretch instead of dumping water out the open end.
Step 4: Set the pressure low and watch the seep
Open the tap only part way so the hose weeps rather than sprays, then walk the run and look for an even line of dark, damp soil.
Too much pressure jets water from the largest pores near the tap and starves the far end. The EPA WaterSense guidance says that once water starts to pool you should ease off, since pooling means the soil cannot take it that fast (epa.gov/watersense). Low and slow is the whole point of a soaker line.
Step 5: How long and how often to run it
Run time depends on your soil, weather and hose length, so measure it once instead of guessing.
According to the same WaterSense guidance, most landscapes need about one inch of water a week including rainfall, though your climate and soil shift that figure (epa.gov/watersense). After the first run, dig down a few inches at the far end and see how deep the water reached, then adjust the next run from there. Used at low pressure this way, a soaker line uses up to 70% less water than overhead sprinklers on the same bed, the kind of root-zone efficiency the FAO documents at farm scale.
Install mistakes that drive returns
Most soaker hose complaints trace back to the install, not the hose, so it pays a retailer to put these into the listing or a short insert.
- Full mains pressure with no regulator. This is the fastest route to a burst and a return.
- One very long single run. Pressure drops toward the far end and the last stretch stays dry. Split long beds into shorter runs off a manifold.
- Skipping the end cap. Water races out the open end instead of weeping along the line.
- Burying a surface hose. Only a PE seepage hose is built to sit underground.
According to the EPA cycle-and-soak advice, water applied too fast on clay or a slope simply runs off, so shorter cycles with breaks help on those beds (epa.gov/watersense). If you are still deciding between hose types, our soaker hose vs drip vs sprinkler guide covers the trade-off.
What pitta supplies
pitta is a US-registered soaker hose brand supplied factory-direct from an established Qingdao manufacturing partner.
According to the pitta datasheet, the 1/2 in workhorse runs a 14.6 mm outer diameter in anti-aging, UV-resistant PE-rubber, with working and burst pressure confirmed per order (datasheet PDF). The range covers 3/8 to 5/8 in across PE-rubber, foamed-rubber and reinforced builds, plus a seepage hose for greenhouse beds and a regulator kit. New to the category? Start with the what is a soaker hose primer, then hand your customers the printable install guide. It ships at low, trial-friendly MOQ and is private-label ready.
Ready to add a soaker line to your range? Send your target sizes and quantities and we will come back with specs, MOQ and lead time. Request a wholesale quote, or ask about a sample so you can run one through a season before you scale.